Create Registries
Create an artifact registry
An Artifact Registry is a central location for storing and managing software artifacts, such as container images or helm charts used throughout the software development lifecycle. To create one, follow these steps:
-
First, select + New Artifact Registry under the Registries tab.
-
Select a registry type.
-
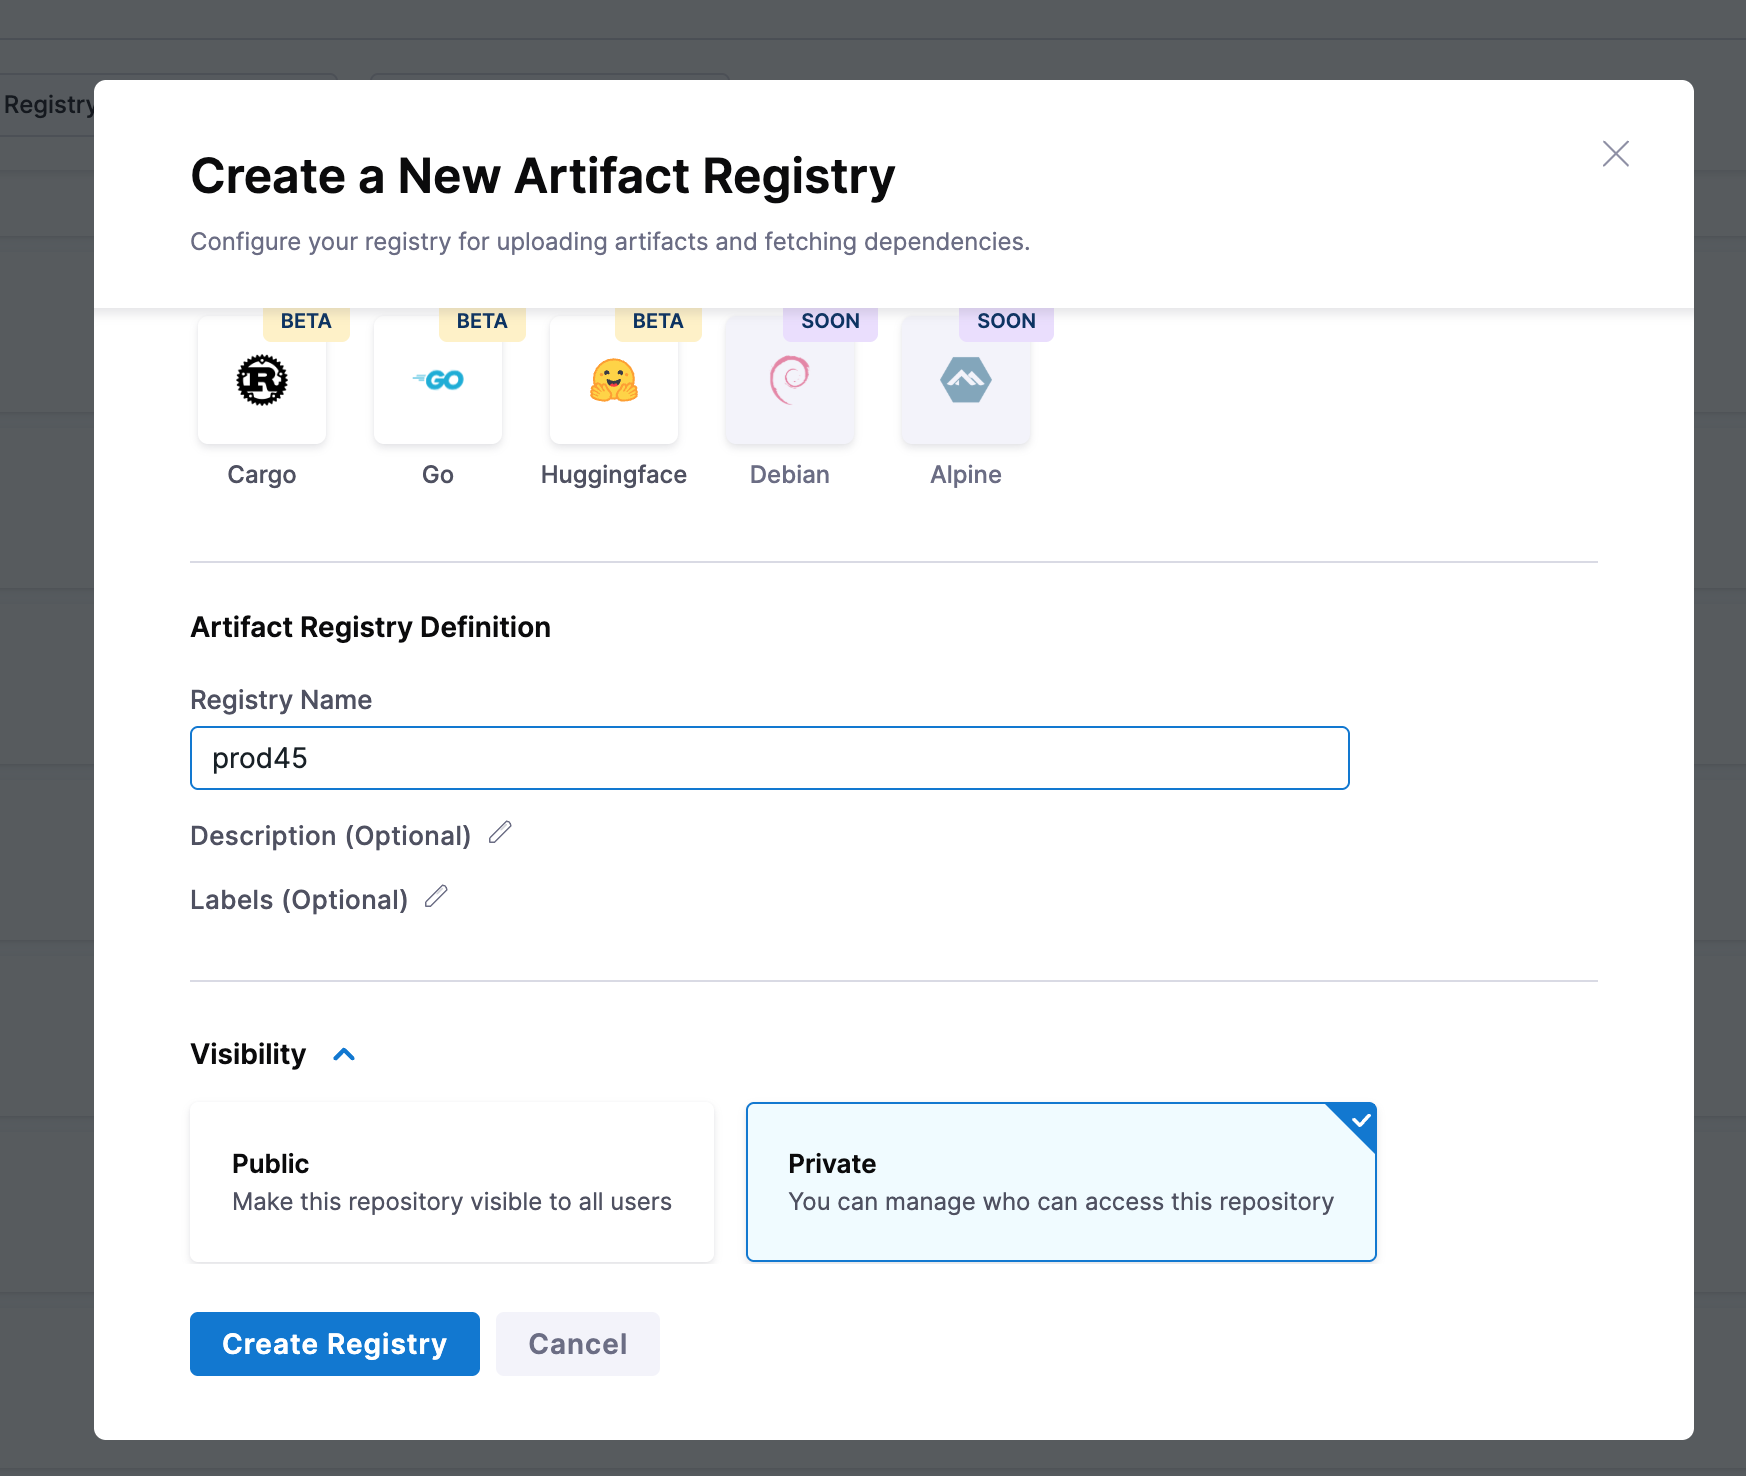
Enter a Registry Name and optional Description and Labels.
tipThis registry name must start with a letter and can only contain lowercase alphanumerics,
_,.and- -
Select Visibility between Private and Public. This will determine if the registry is accessible to all users or not.
infoPublic registries allow anyone to view repository contents and pull images. Private registries restrict both visibility and image pulls to users or service accounts with the required permissions or tokens.
Feature Flag RequirementTo create a public artifact registry, the feature flag
PL_ALLOW_TO_SET_PUBLIC_ACCESSmust be enabled. Contact Harness Support to activate it. Then, in your Harness account, go to Account Settings > Authentication and turn on Allow public resources to make the registry publicly accessible. -
Select Create Registry.

Create an upstream proxy
An Upstream Proxy for an Artifact Registry is a proxy configuration that allows the registry to fetch artifacts from another external or remote registry. When a user requests an artifact that isn't available in the registry, the registry directs the request to a configured upstream proxy. To create one, follow these steps:
-
Select the dropdown next to + New Artifact Registry, and then select Upstream Proxy.
-
Select a registry type.
-
Enter the Upstream Proxy Key. This is the identifier or name for the proxy within Harness and is chosen by you.
tipThis proxy key must start with a letter and can only contain lowercase alphanumerics,
_,.and- -
Depending on the registry, fill out any other required settings.
- Docker
- ECR
- Helm
- Enter the proxy Source. Either Docker Hub or a Custom source.
- If it's a custom source, enter the Docker Remote Registry URL.
- Select the AWS ECR source
- Enter the ECR Remote Registy URL
AWS ECR infoThis will in be your AWS Elastic Container Registry (ECR) repositories, e.g.
https://{region}.console.aws.amazon.com/ecr/repositories/{public-or-private}/{repo-id}/{repo-name}?region={region}Enter the Helm Remote Registry URL.
-
Choose your Authentication method.
Select Access Key and Secret Key for private sources and Anonymous (No credentials required) for public sources.
- Select Create Upstream Proxy. After you've created your upstream proxy you will need to set it in a registry. To learn how to do so, go to Set an upstream proxy.